Today’s Studio Upgrade: A New (Inexpensive, Custom) Cutting Table with Storage
I’m known for screeching to a halt to pick up someone’s “trash” from the curb, because I firmly believe that one man’s trash is another (wo)man’s treasure. (Don’t worry, I’m NOT a hoarder, I either finish the project I envisioned within a year or two, or I find a new home for what I hauled home).
In May, the University I work for was trashing a bunch of old oak cabinets and slate counter tops as they installed the new chemistry lab. I happened to drive by that side of campus, the day they were carrying everything out to the curb and setting it near a big sign that said “Free”. I immediately stopped, pulled two cabinets and some shelves aside with a sign on them that they were claimed and would be picked up later. I then called my sweetie and arranged for him to swing by on his way home from work that afternoon to retrieve them. We reluctantly passed on the “too large” slate counter tops. I brought these home:
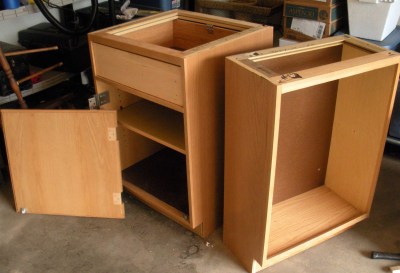
My sweetie and I got to work removing vinyl toe kicks, adhesive, sticky messes, etc., then washing, sanding, priming and painting MANY layers of white paint on these, in addition to cutting new shelves and making minor wood filler repairs. It’s been an all summer job out in the garage–which sweetie stuck to through our terrible heat and humidity! (I wimped out once the heat index went over 95 degrees, I was willing to wait until Autumn for my “new” cabinets).
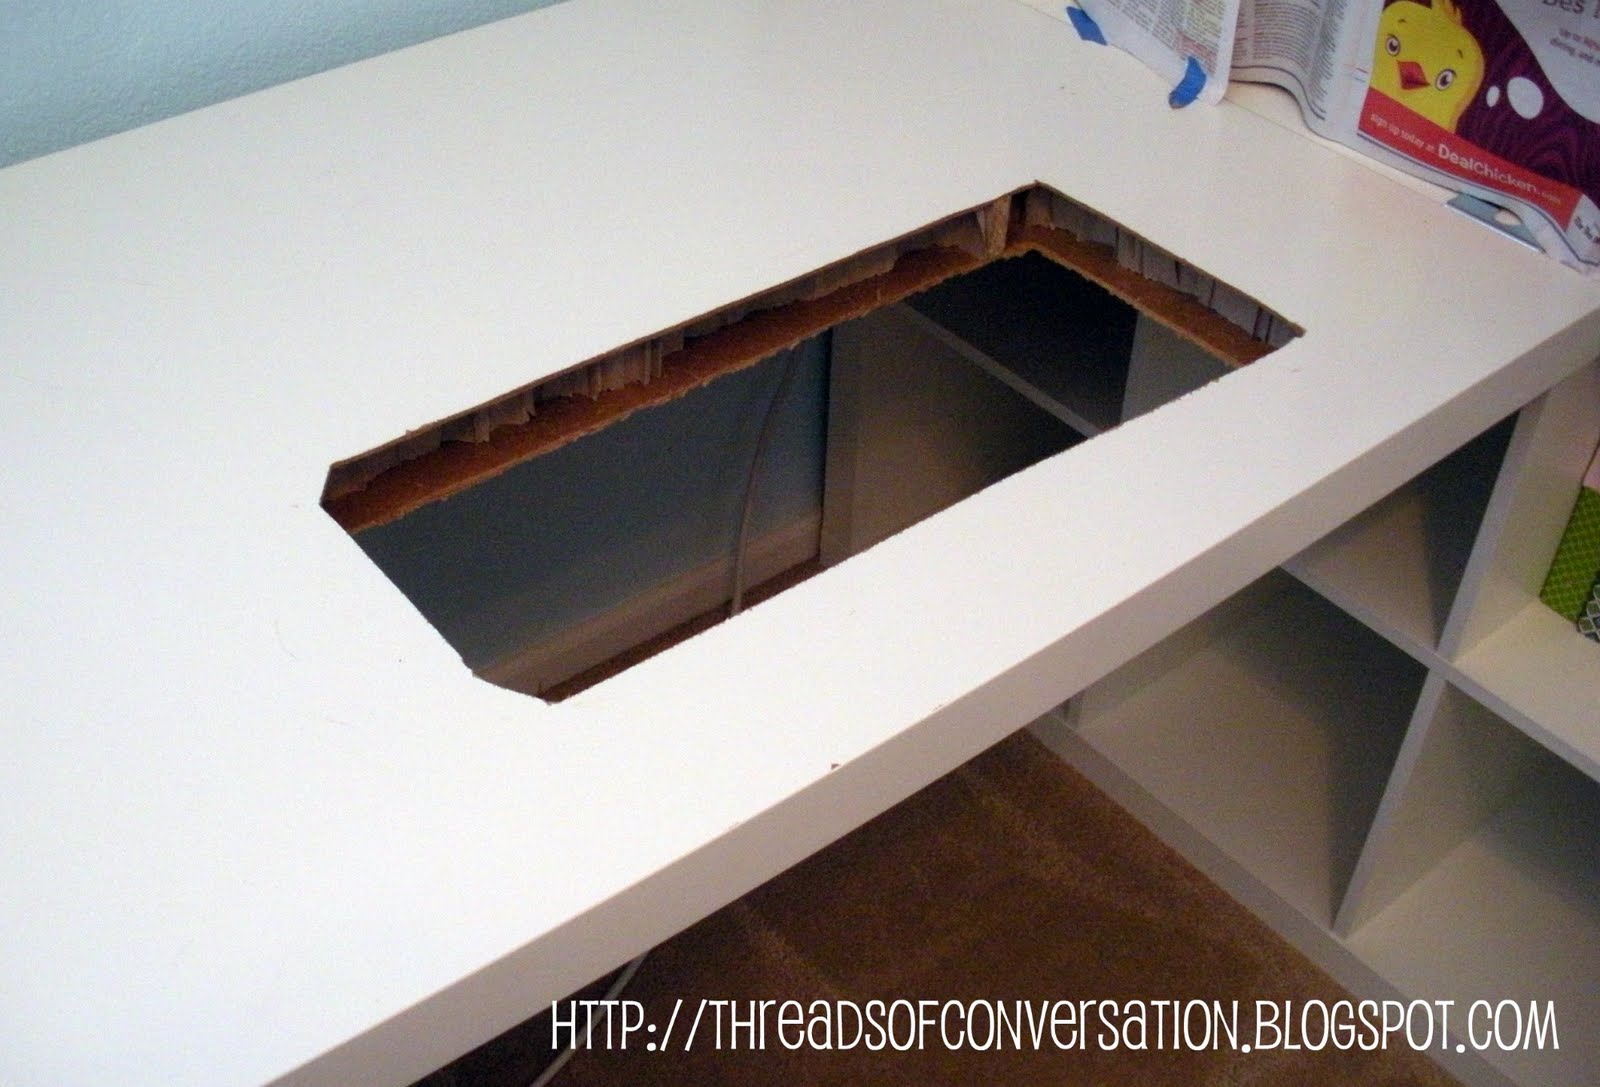
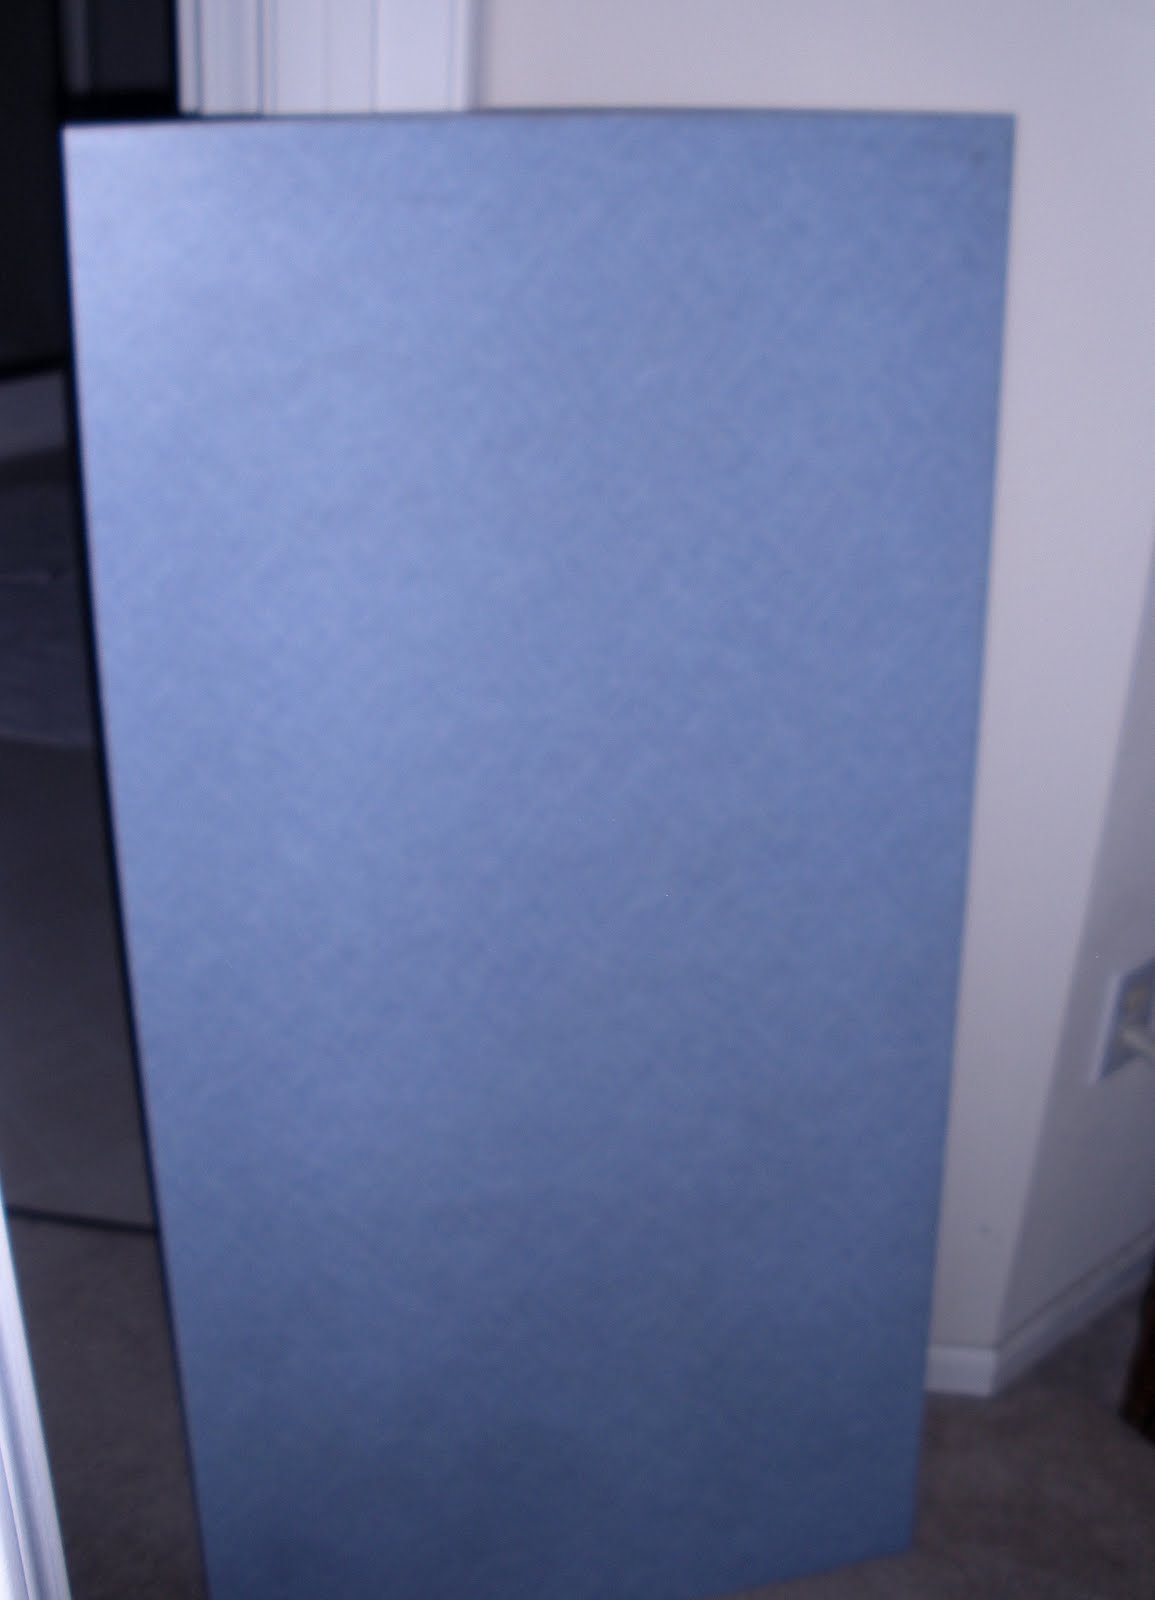
A few weeks later, this old counter top was slated for the trash at the building I work in. Naturally, I hauled that home, too. It happened to be just the size I needed to top off the oak cabinets. (Lucky, huh?)
I wasn’t crazy about the 1980s country blue formica, so when I was at Grubers in July, I picked up some fabulous laminated cotton to cover it (Oil Cloth would have been a little more durable, since it’s heavier, but I adored this bicycle/tricycle print by Michael Miller, and since I am the primary user of this tabletop, I know it will be used carefully). If you are making a similar table covering that will be used by kids, or multiple family members, I’d recommend oilcloth.
How to cover a tabletop:
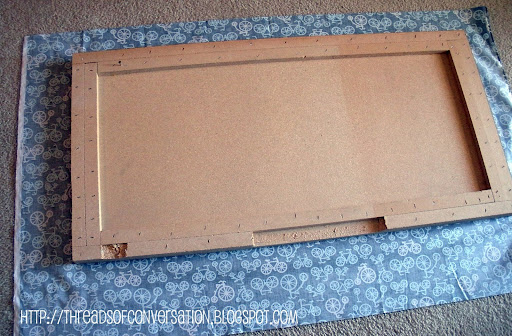
1. Cut your oilcloth/laminated cotton larger enough to allow for folding over all four sides, with an overlap to the bottom side of your plywood or tabletop, and extra fold under of raw edge–in this case, about 5-6 inches on all sides. It doesn’t show in this pic, but I trimmed a triangle (about a 3″ triangle) off all four corners to make easing your corners in in step #5 go smoothly.
2. Starting at the center of long sides of board, wrap fabric tightly around back, tucking about 1/2″ of raw edge under and securing with a staple gun. I usually do the center, and about 3″ on each side of center spot along one side, then move to opposite side of the board and repeat by pulling fabric tightly around the back at the center of that side, turning under 1/2″ raw edge again, and securing it with a staple gun.
3. Proceed outward along sides of your board, alternating from side to side every so often, until you reach the end at all four corners.
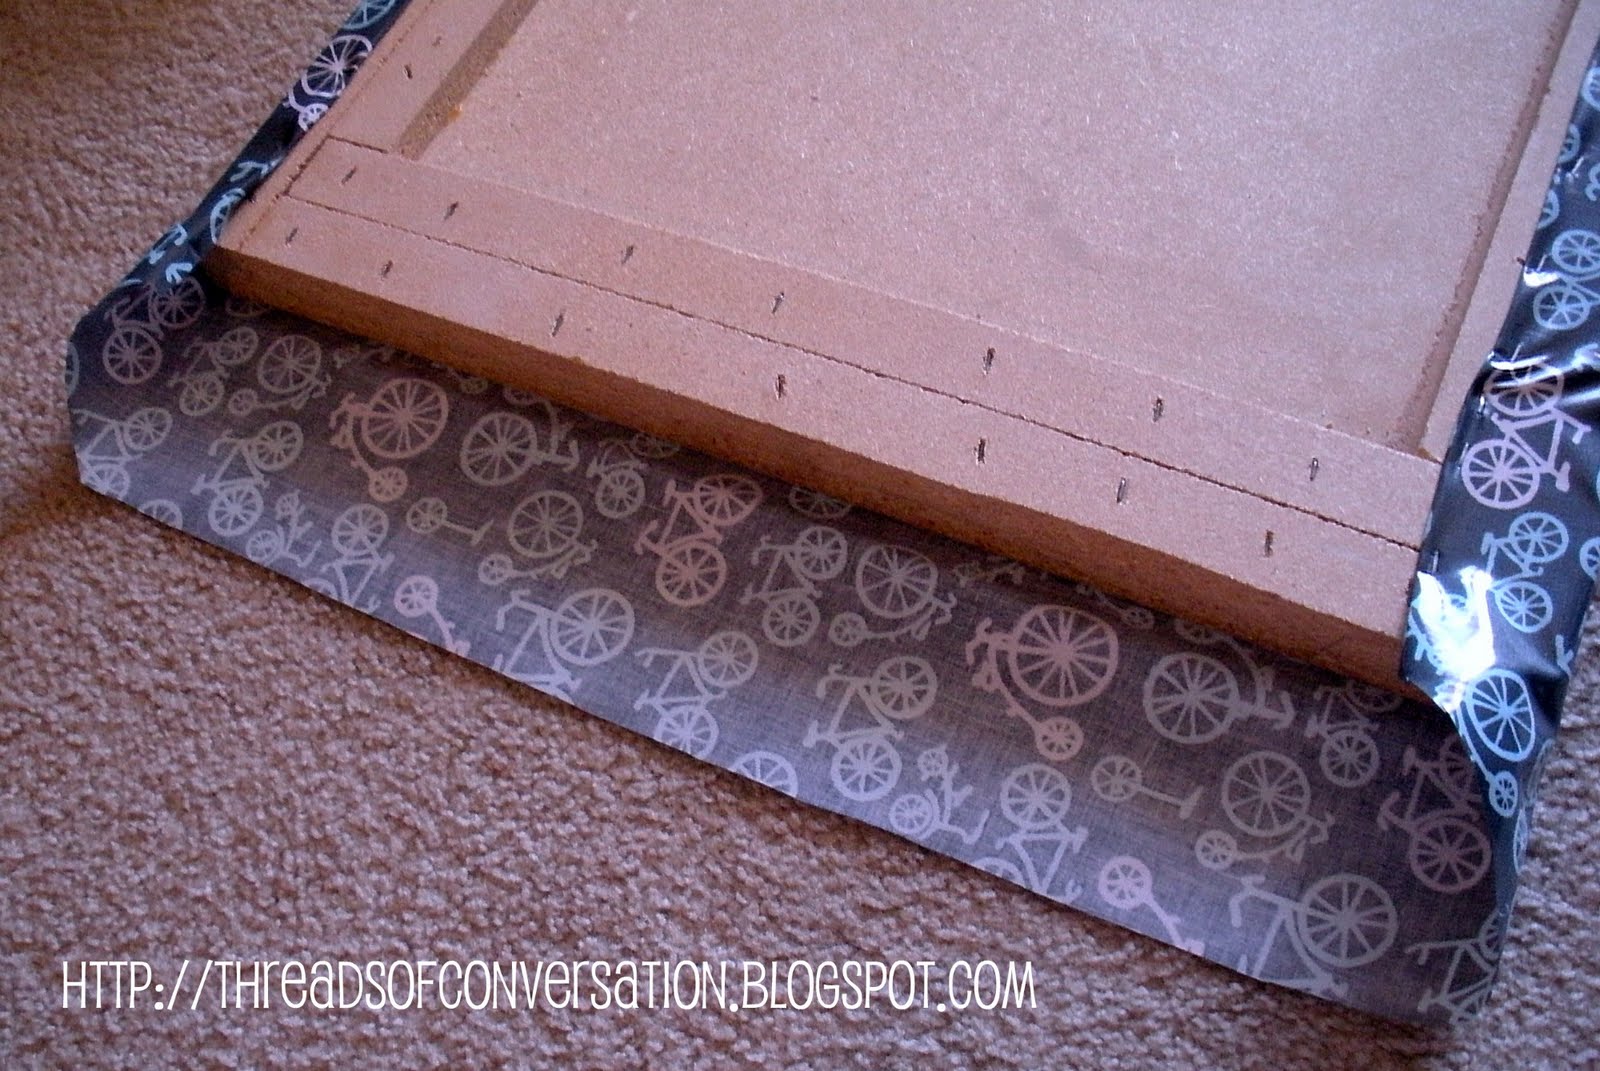
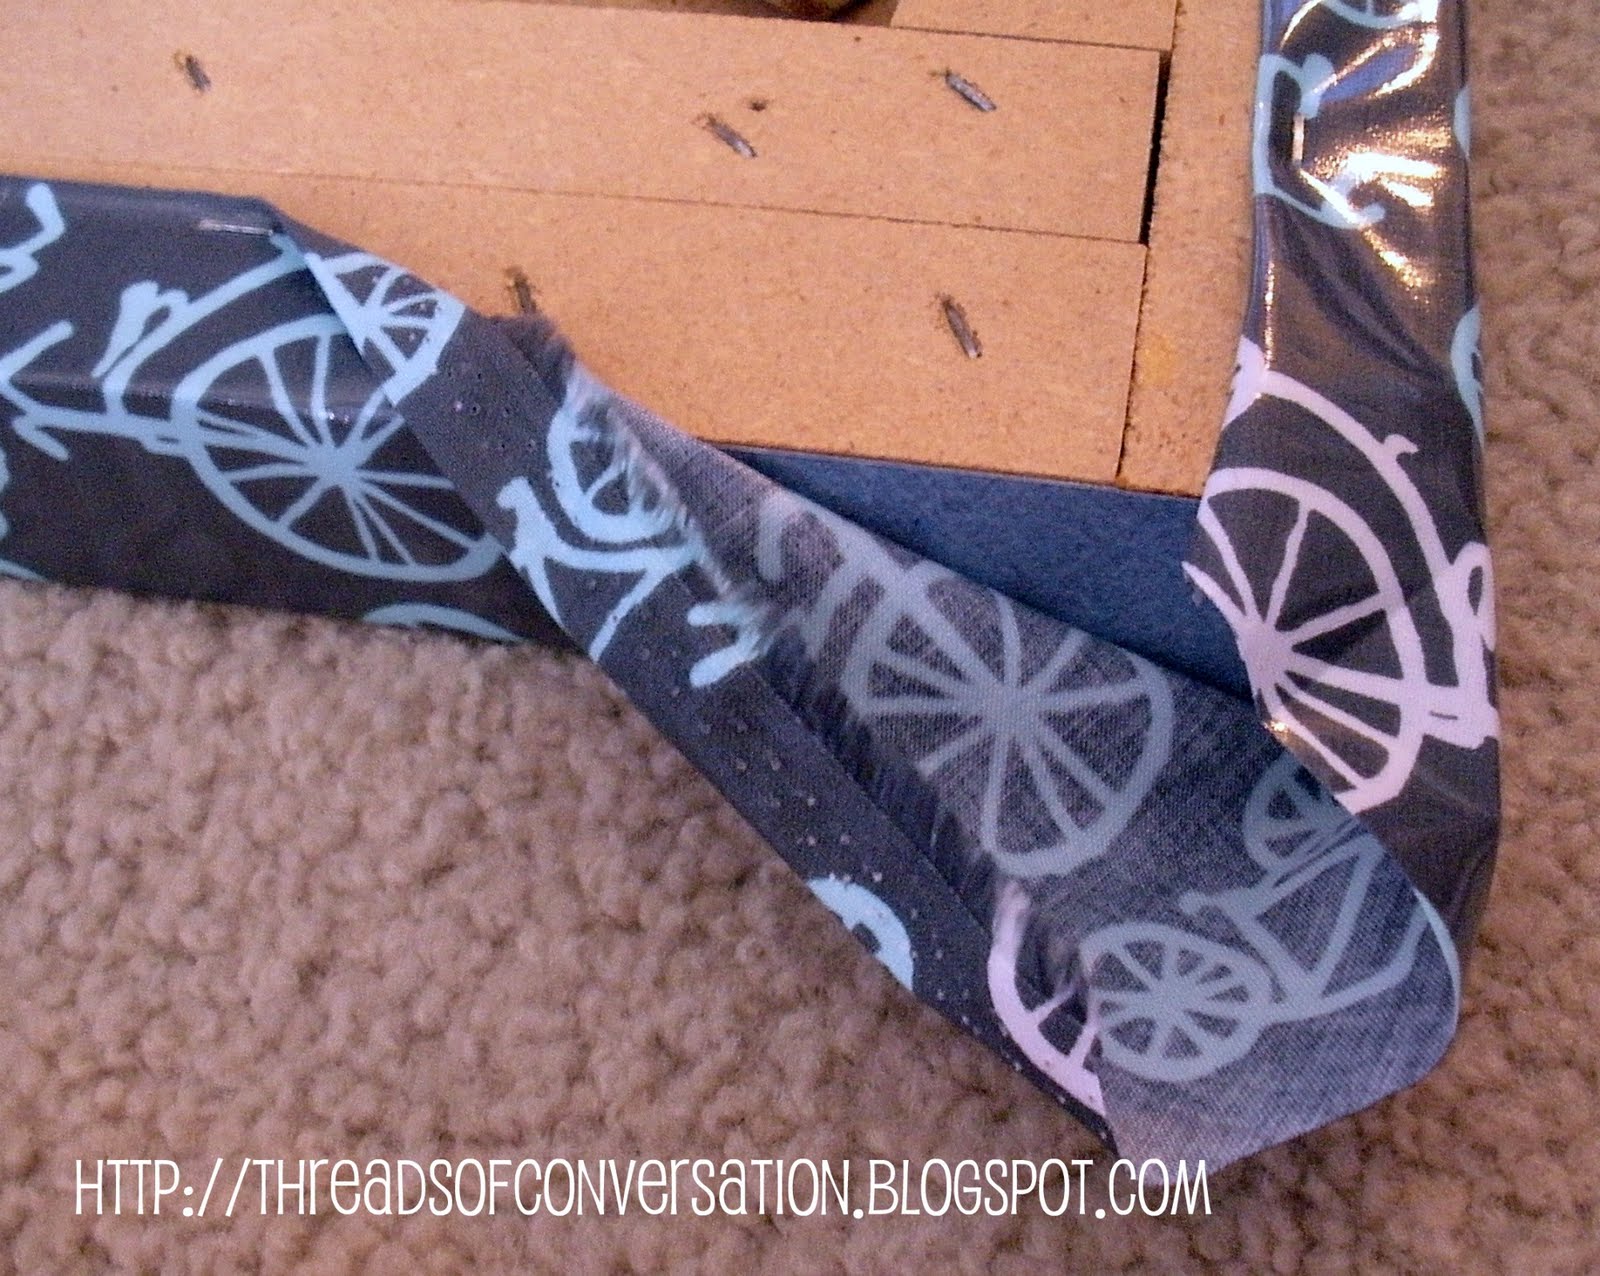
4. Moving to center of your short ends, repeat step #2, until you get to this point:
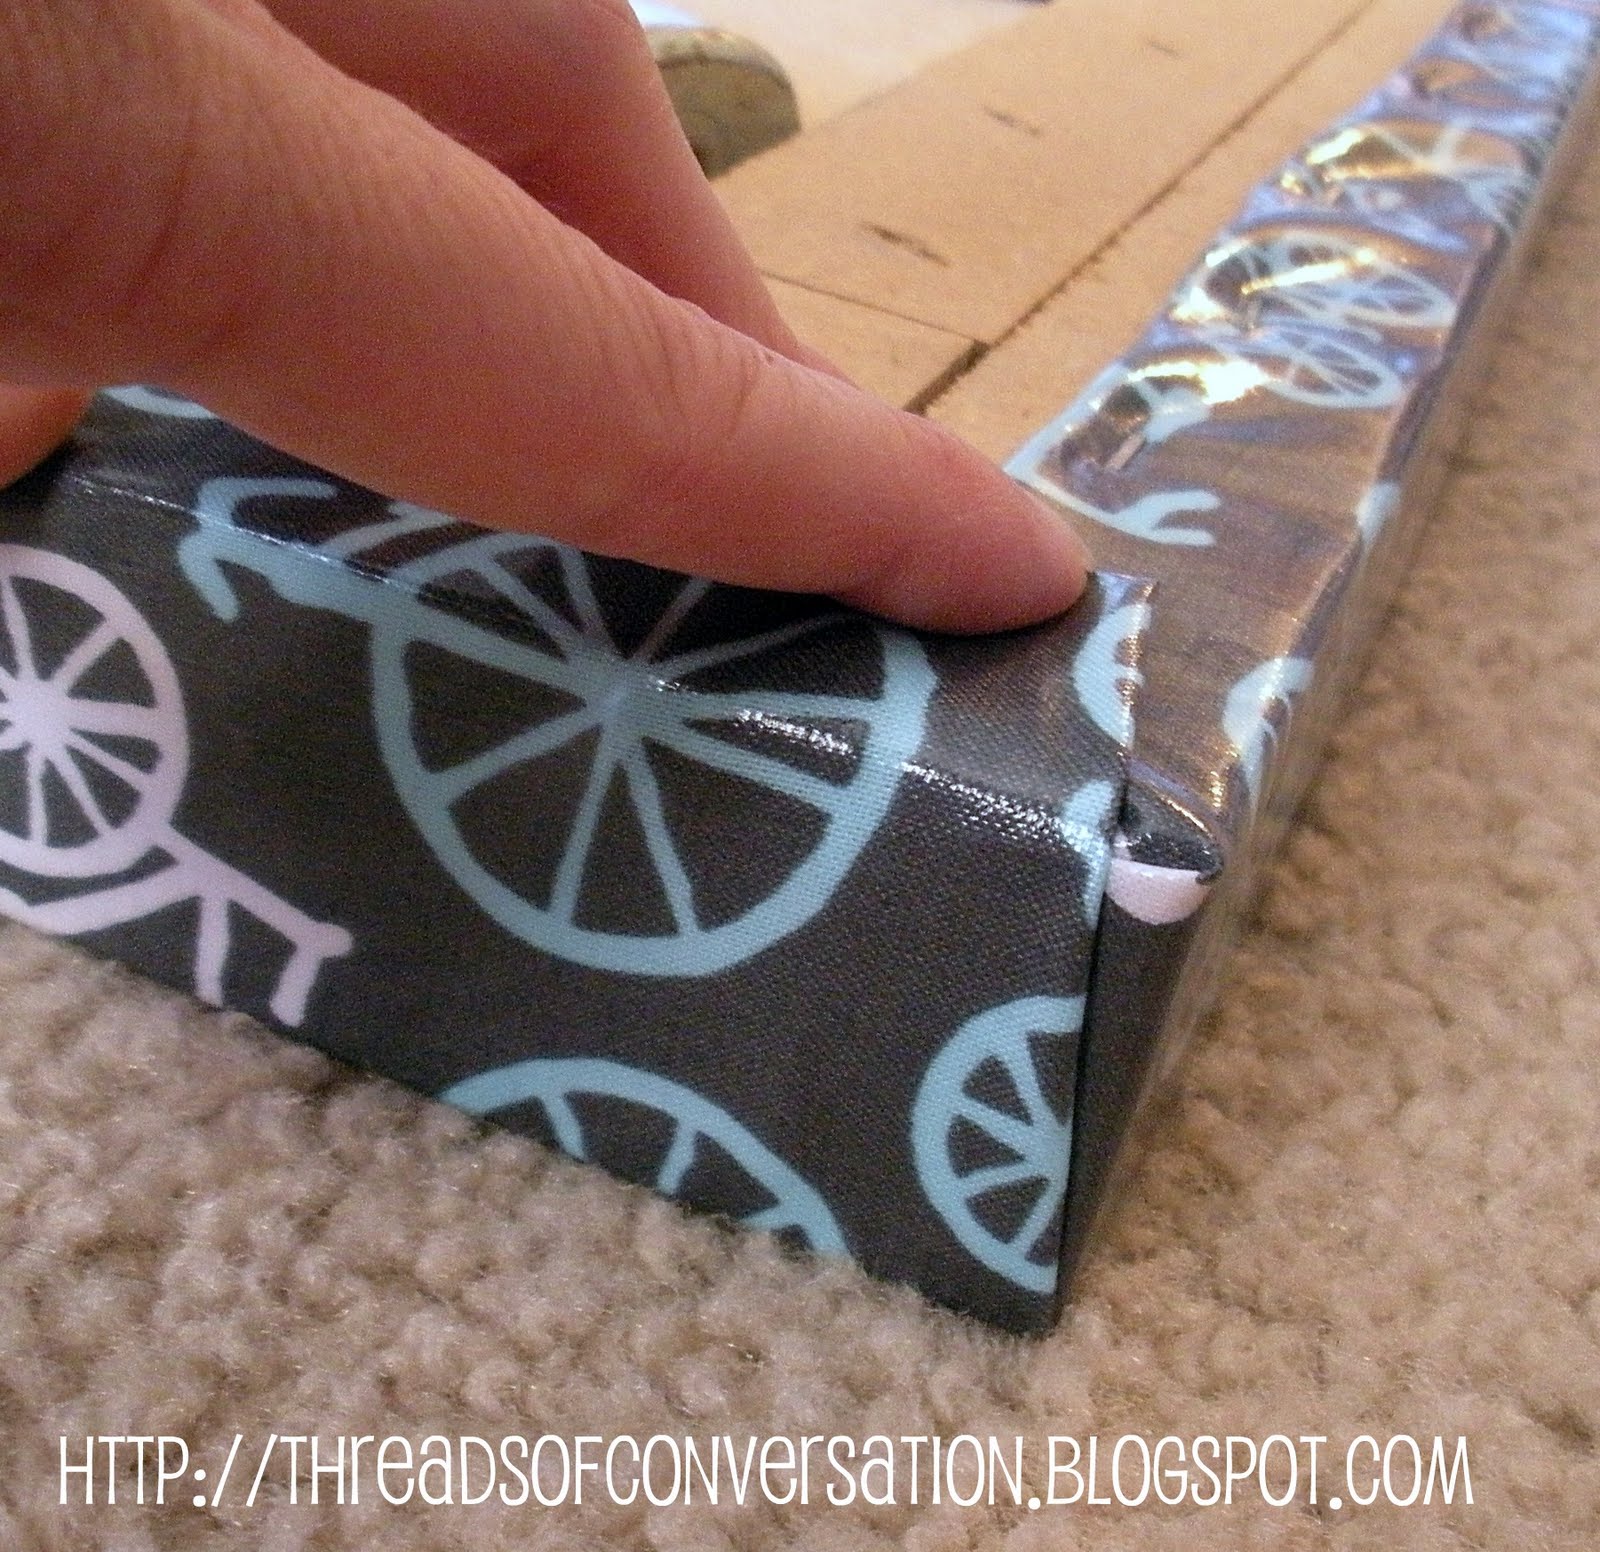
5. This is where the fact that you trimmed a triangle of bulk out of your corners in step #1 becomes important. Fold your long side excess length in closely to the edge of the table top, and fold the end side excess in over the top of it, just like you would if you were wrapping a gift with paper (sometimes it helps to have an extra set of hands at this point-one to wrap and hold, the other person to staple):
6. Once you have it where your want it, laying nice and flat, secure it with your staple gun. Add extra staples to bottom side fabric edges as needed. You can use this same method to re-upholster chair seat covers, ottoman covers, you name it.
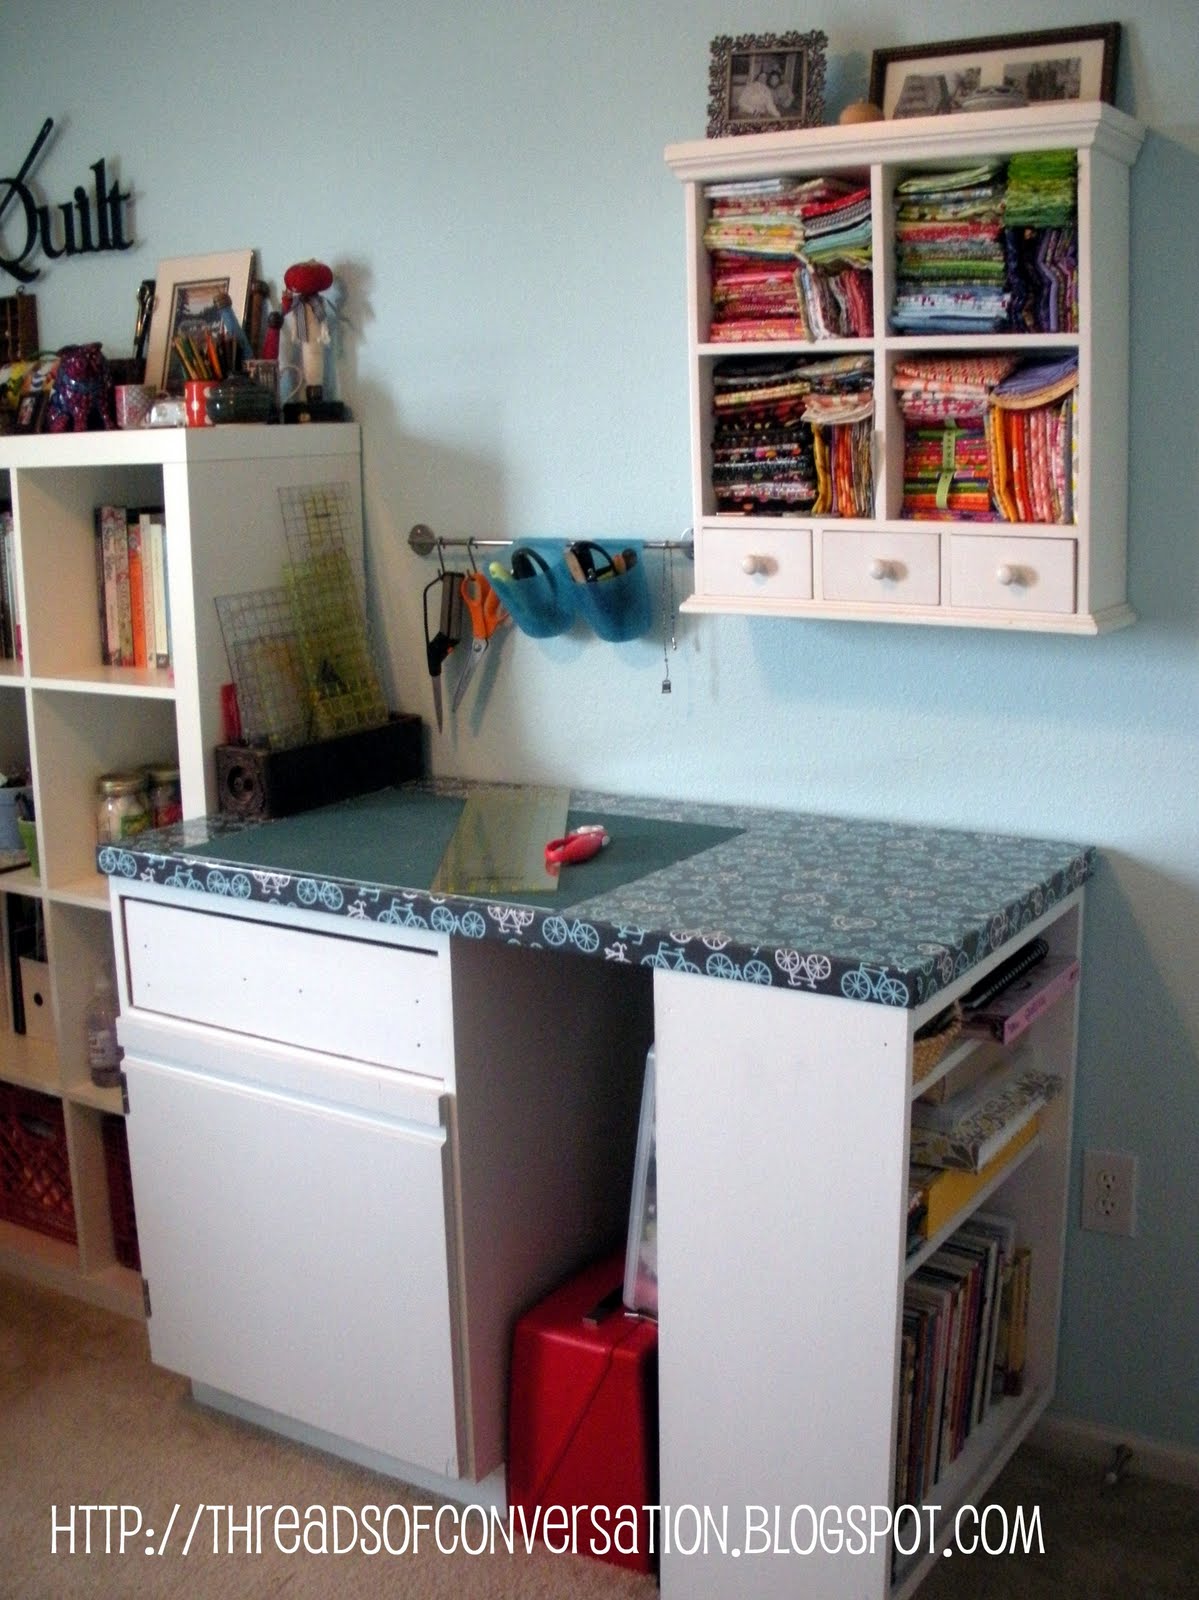
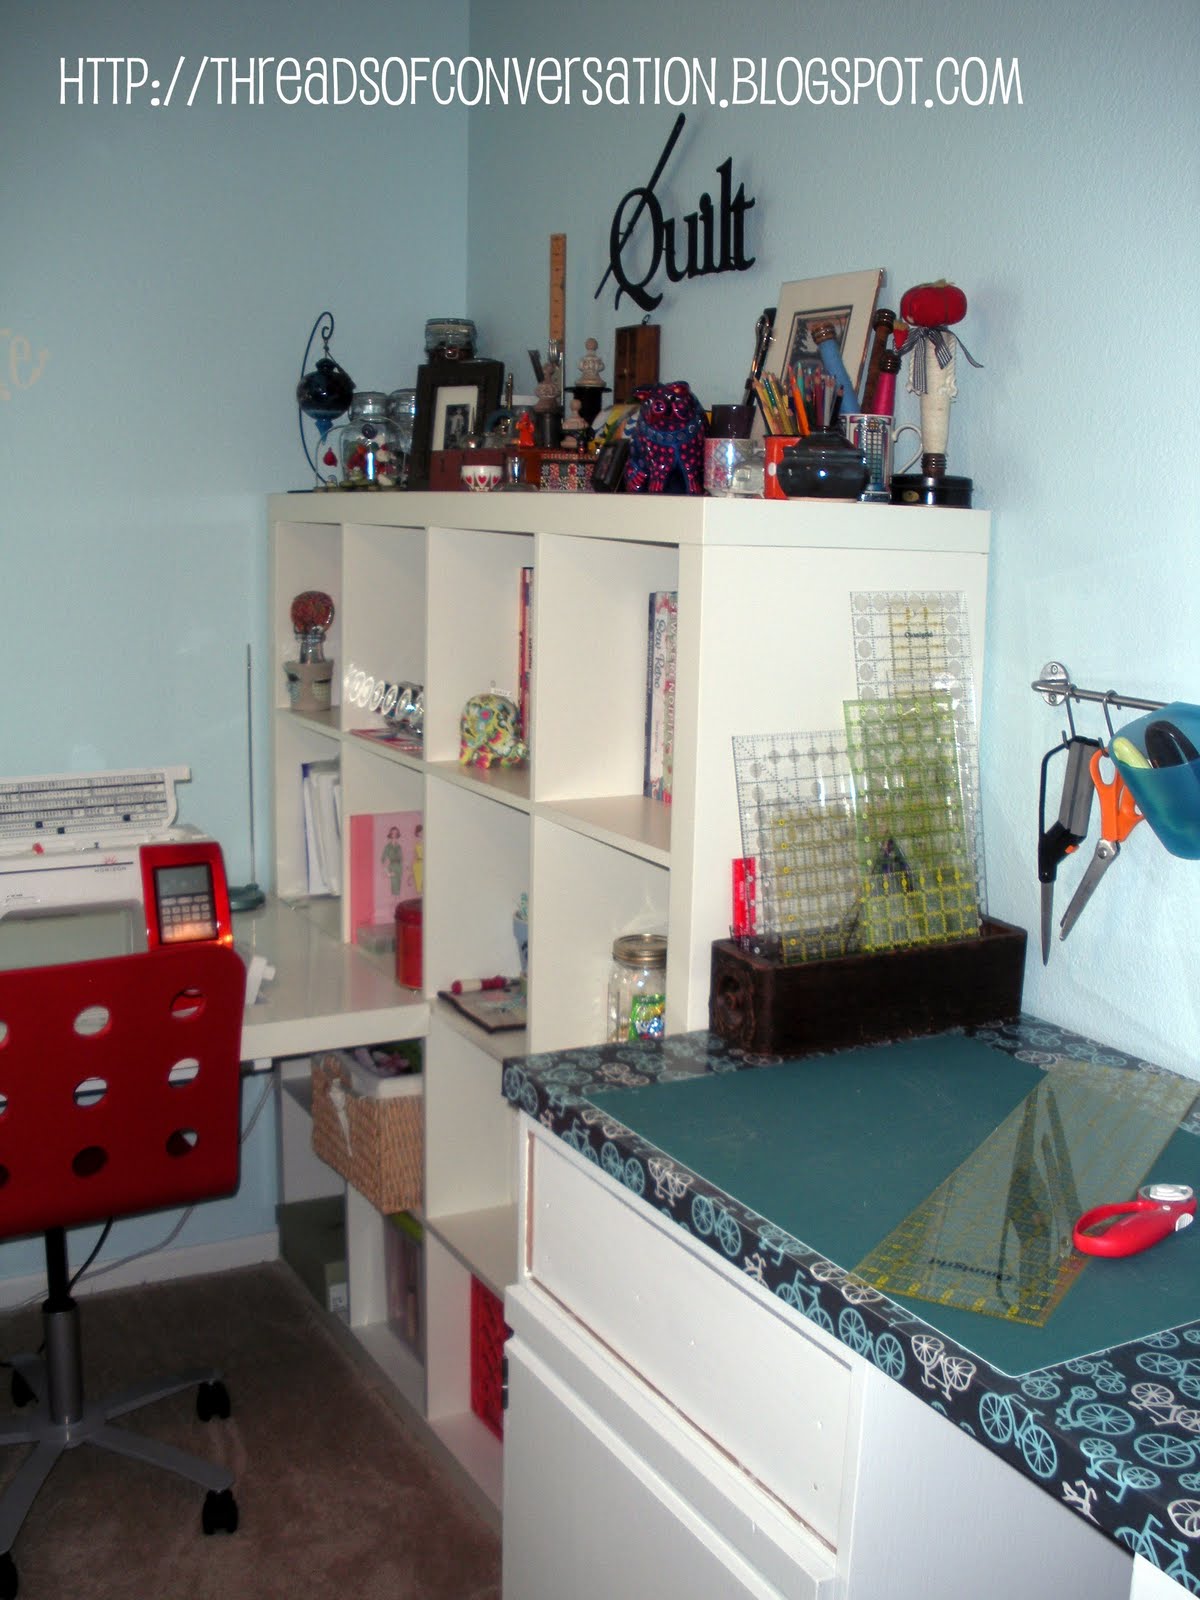
We installed the cabinets and the tabletop in my sewing studio just before we went on vacation…
There is an open area under the table that is exactly the width I need for storing my vintage Bernina 830 Record. The door on the left cabinet hides a multitude of WIP sins… and the open shelves on the smaller cabinet provide storage for books and tools facing the door to the studio…
We also added that nifty towel rod and buckets from Ikea for holding rotary cutters, scissors, seam rippers, pencils, etc. All at the ready, all off my work surface. The drawer on the cabinet to the left still needs the drawer facing and pull added to it (This weekend’s project), but it’s completely functional at this point. And it’s a HUGE drawer-great storage!
Total Cost for My New Custom Cutting Table/Work Station:
Cabinets & shelving $0
Formica Tabletop $0
Laminated Cotton $17.99 (It took less than a yard so I have pieces left over!)
Primer $10 (we’re giving the rest of the gallon to someone for a second project)
Woodfiller $5
Paint $12
TOTAL $44.99
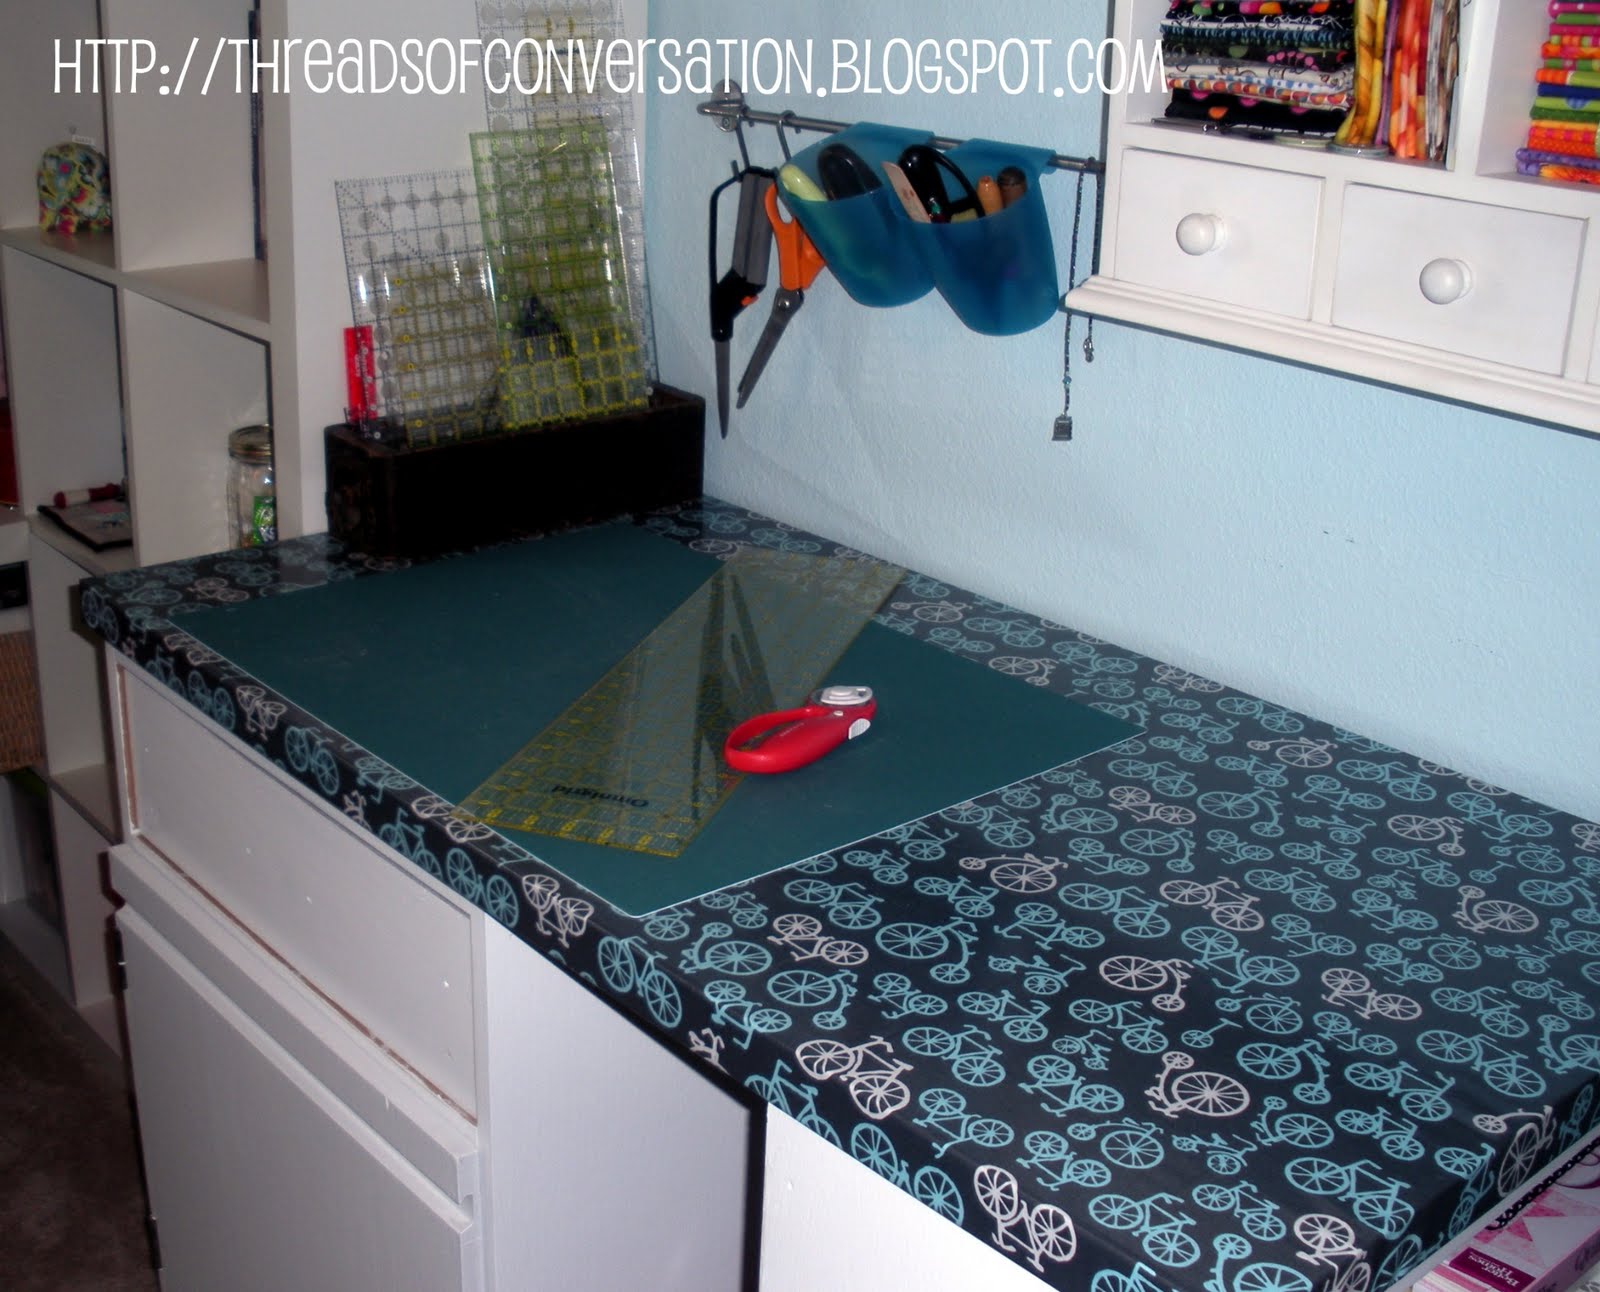
I’ve used the cutting top once so far, and it is already worth it’s weight in gold. A shot of the entire sewing set-up:
Add the ironing board off the left side of the photo there and I have myself a great work-triangle!

 Skinny-minny is growing like a weed, but she hasn’t gotten any bigger around in almost four years! The pics on the right are the original photos I took before gifting it to her in 2009.